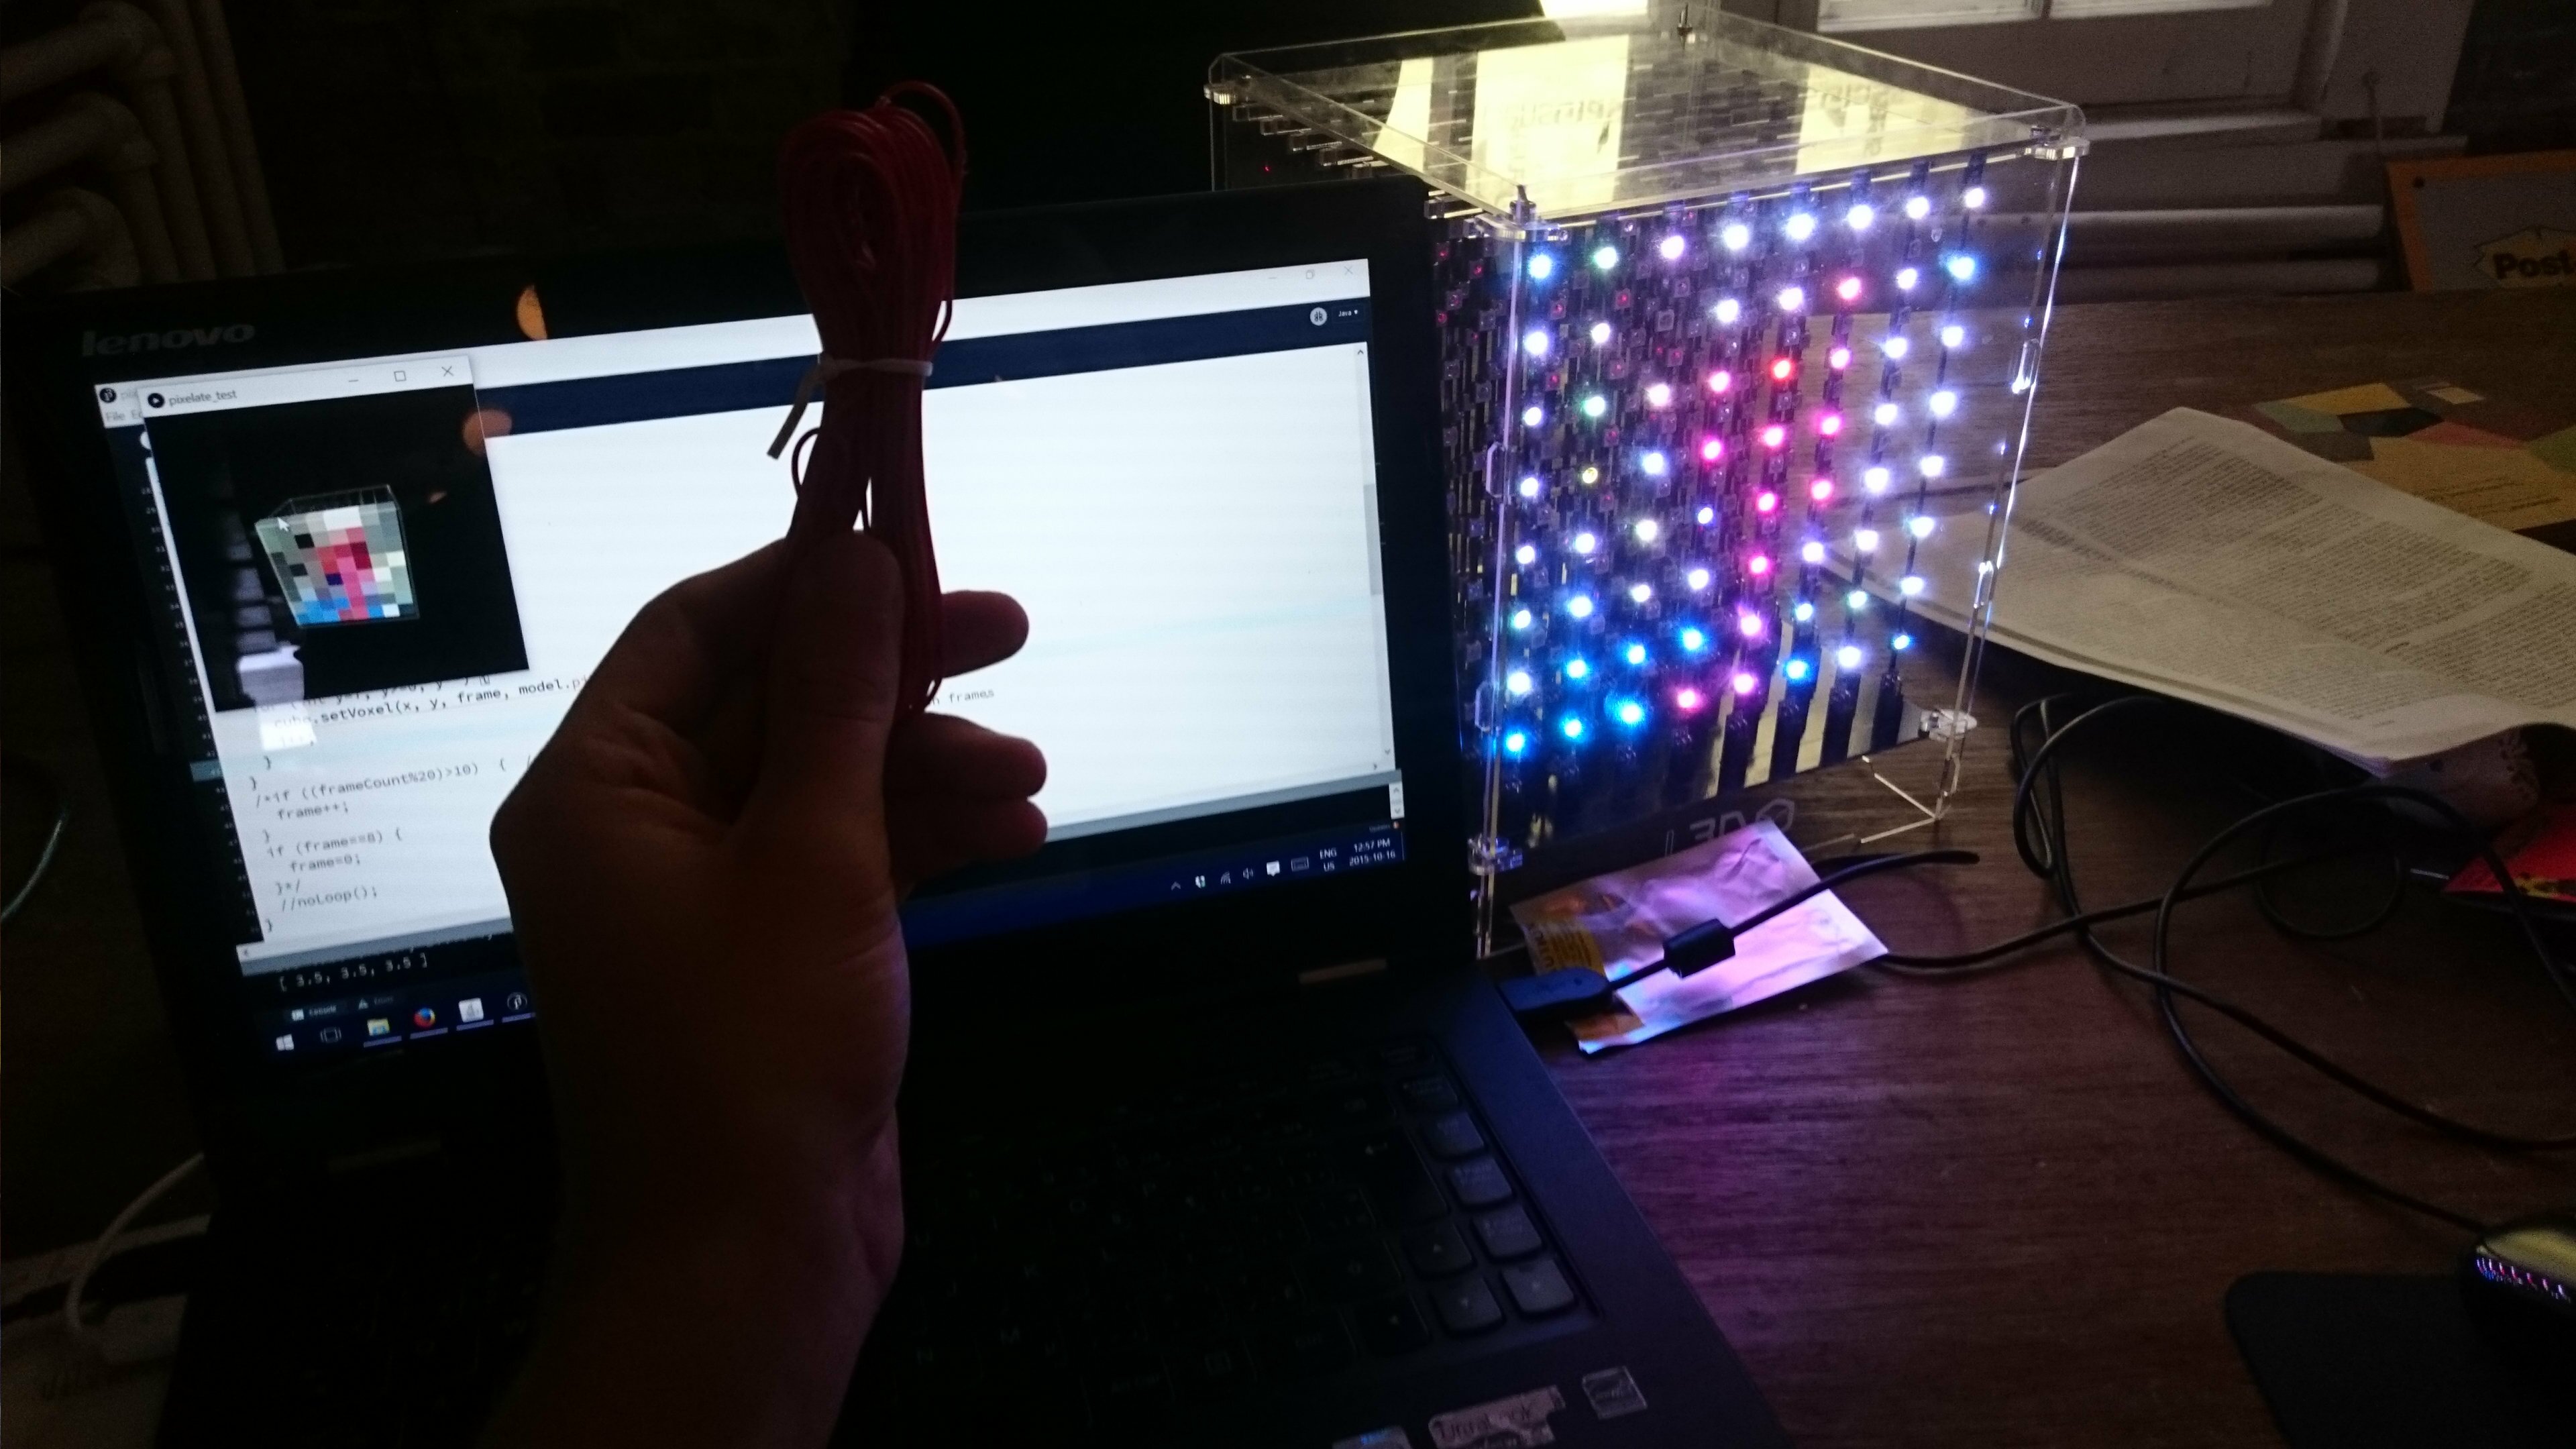
Overview
The video stream’s frames are divided into 8×8 squares of equal surface. The average RGB values of every pixel in the square is extracted and used to recompose a smaller image. The image is then projected on to the cube.
With enable3d option set to true, the past 7 frames are stored and displayed on the back frames of the cube with a delay set by the variable updateFrameRate.
The webcam stream could easily be substituted for any video stream if need be.

Walkthrough
Libraries
- L3D Library: this one we know of already.
- Processing Video library: it comes with Processing so no need to install it. It is used to communicate with the computer’s webcam.
The reduction algorithm
Since the cube is an 8*8 display, we need to downsize the original image from the webcam so that it fits on 64 pixels.
It is important to understand how the algorithm used to reduce the number of pixels of an image works.
You will quickly see that, if broken down into small pieces, it is not a difficult concept to grasp at all.
Let’s take the example of an image of width and height of 32 pixels. It is composed of 1024 pixels total. Say we want to downsize it to a 4*4 image.
First we divide the initial image in 64 squares of equal surface. We then iterate through each pixel of each of these surfaces, extracting the average R, G and B value from every pixel lying on the same surface.
This average result is used to re-compose a downsized image.
Here is a poorly made gif that might help you understand the idea, as well as an example of the result obtained with this method.
I don’t know why but the thumbnail of the gif eats up part of the graphics so you might want to click on the link to see the full version.

The code
Link to the repository.
Server: Processing sketch
Link to the sketch.
Capture webcam stream
Import the library used to stream the webcam feed and declare a Capture global variable in order to store the frames.
import processing.video.*;

Capture video; // webcam stream object
Start the webcam feed in setup().
void setup() {
  // start webcam stream
  video = new Capture(this, 640/2, 480/2);
  video.start();
}
You also need to register a new event listener that will read the new frames incoming from the webcam.
void captureEvent(Capture c) {
  c.read();
}
Downsize frames images
We create a new pixelateImage() function that reads a frame from the webcam, resizes it to a square so that it fits the cube, creates a new output image that will be composed following the algorithm aforementioned.
PImage pixelateImage(int sideSize) {
  PImage p;
  p = video.copy(); // copy current webcam frame in PImage object
  p.resize(inSideSize,inSideSize); // resize to get a square (since we want an 8x8 output)
  // Create empty image that will store the current frame pixels values
  PImage pOut = createImage(outSideSize, outSideSize, RGB);
  pOut.loadPixels(); // init pixels

  int pxSize = inSideSize/sideSize;

  // Apply algorithm to extract average RGB value of each area of
  // the input image and recompose the output image with the results
  for (int x=0; x
We also create a function that will allow us to display the resulting image in the rendered view for test purposes.
void show2D(int size) {
  PImage pOut = pixelateImage(size); // generate pixelated image
  scale(inSideSize/outSideSize); // scale image object to fill the rendering screen
  image(pOut, 0, 0); // display output image
}
Project to cube
We use the functions just created to project the output image pixel's values to the cube's first frame's voxels.
As mentioned, if enable3d is set to true, the past webcam frames are sent to the back of the cube with a delay.
We begin by importing the L3D library and setting the global variables.
...
import L3D.*;

// Instanciate cube;
L3D cube;

...

int[][] frames = new int [8][64]; // Array used to store the frames pixels values
int nextFrame = 0;

boolean enable3d = false; // if set to false, only 1 frame is used.
int updateFrameRate = 5; // if enable3d set to true, frequency at which the past frames are updated

int inSideSize = 512; // Size of the origin image once resized. Must be a multiple of 8.
int exp = 9; // used to recompute outSideSize on keyboard action
int outSideSize = 512; // number of pixels/side for the output image
...
Then we start the cube in setup() and prepare the view.
void setup() {
  size(512, 512, P3D); // start simulation with 3d mode enabled

  ...

  cube=new L3D(this); // init cube
  cube.enableMulticastStreaming(2000); // start streaming current animation on port 2000
}
Then we define the function used to render the cube.
void showCube() {
  cube.background(0); // clear cube background

  PImage pOut = pixelateImage(8);
  frames[7] = pOut.pixels; // save current frame pixels (7 = front of the cube)
  // loop through the 8 frames and light up pixels row by row
  for (int j=7; j>=0; j--) {
    int i = 0;
    for (int y=7; y>=0; y--) {
      for (int x=0; x<8; x++) {
      cube.setVoxel(x, y, j, frames[j][i]);
      i++;
      }
    }
  }

  // update frames displayed by pushing old frames values to the back
  // the frequency is set in global variable 'updateFrameRate'
  // 'enable3d' mode must be enabled by setting the global variable to 'true'
  if (enable3d&&nextFrame<7; j++) {
      frames[j] = frames[j+1].clone();
    }
    nextFrame = frameCount+updateFrameRate;
  }
}
UI events
Weather it be for curiosity or testing purposes, it can be useful to try different output resolutions and to toggle between the 2D and 3D view.
In order to do that, we register a new global variable and two event listeners which will toggle the views between the cube and the output image on a right click. Additionally 0 and 1 can be used to decrease or increase the output image's resolution.
int mode = 0; // used to switch between pixelated image and cube view

...

void mousePressed() {
  if (mouseButton == RIGHT) {
    mode = (mode == 1 ? 0 : 1);
  }
}

void keyPressed() {
  if (keyCode ==49) {
      exp += 1;
      outSideSize = (int)pow(2, exp);
  } else if (keyCode == 48) {
    exp -= 1;
    outSideSize = (int)pow(2, exp);
  }
}
Putting it all together
Populate the draw() loop with the two rendering functions we created.
void draw() {
  cube.background(0); // init all voxels to black
  background(0); // clear simulation background

  // toggle between 2D and 3D view
  if (mode == 0) {
    show2D(outSideSize);
  } else {
    showCube();
  }

}
Client: Photon firmware
Upload the following code to your device.
Sources
- Pixelate and posterize in processing.
- How to pixelise a webcam stream using opencv.
- Photo to colored dot patterns with opencv.